The controller
A drone controller is the handset the pilot holds: two spring loaded sticks, a set of switches and buttons, and a two way radio link that sends your inputs to the aircraft many times a second and brings back the aircraft's position, battery state and, on most machines, a live picture. Nearly every handset sold in Europe leaves the factory in the same stick layout, so the four things the sticks do are the same at any price. Learning which stick does what on the kitchen table is the difference between a first flight and a first repair.
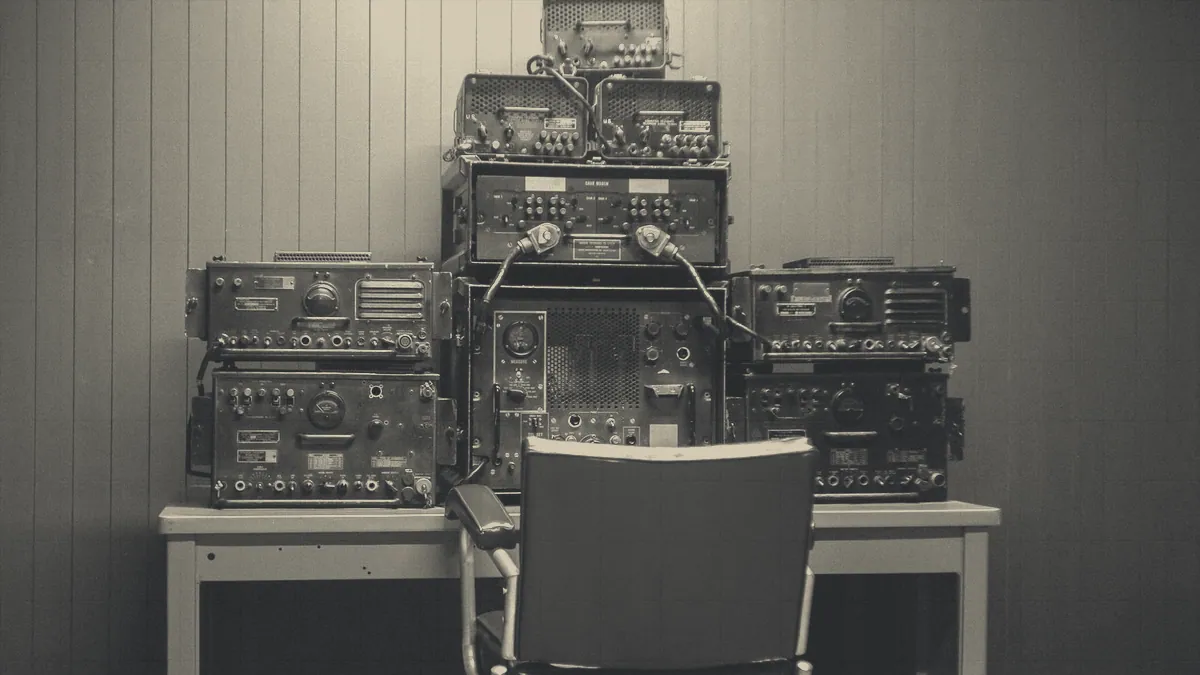
The parts of the handset, named
The handset has 6 parts worth naming, because every manual and every menu refers to them by these names.
- Sticks, 2 of them, each moving on 2 axes, giving four flight controls in total.
- Switches, usually three position toggles, selecting flight modes such as sport, normal and cine.
- Wheels or dials, on the shoulders of the handset, which tilt the camera.
- Buttons, including return to home, the shutter release and the video record trigger.
- Antennas, folding, which want their flat faces towards the aircraft rather than their tips.
- A display, either a clamp for your phone or a screen bonded into the handset.
Almost all consumer machines use the 2.4 GHz band for the control link and many use 5.8 GHz for the video coming back. Those are the same crowded frequencies home wifi sits on, which is why control range in a town is a fraction of the figure on the box, and why a handset held low behind a body loses signal that the same handset held up keeps.
Mode 2, and why every handset is set up the same way
Mode 2 is the stick layout the trade settled on: throttle on the left stick, direction of travel on the right. A Mode 1 handset swaps the pitch and throttle axes and survives mainly among older fixed wing pilots. Buy new in the United Kingdom and you will get Mode 2 unless you deliberately order otherwise.
| Input | Axis | Result in the air | Result on a fixed wing model |
|---|---|---|---|
| Left stick up | Throttle | Climbs | Adds engine power |
| Left stick sideways | Yaw | Rotates on the spot | Steers with the rudder |
| Right stick up | Pitch | Flies forward | Points the nose down |
| Right stick sideways | Roll | Slides sideways | Banks into a turn |
The right hand column matters more than it looks: a multirotor and a model aeroplane answer the same four inputs differently, so a pilot moving between them relearns the response and not the layout. Learning to fly a quadcopter first is the easier order, because the aircraft sits still while you think.
Thumbs or pinch, and why it is worth deciding early
There are 2 ways to hold the sticks and both are used by good pilots. Thumbs on top is where most people start: the stick tops sit under the pads of the thumbs and the handset rests in the fingers. Pinching puts the stick between thumb and the side of the index finger, with the handset hanging from a neck strap or a tray. Pinching gives finer control and less overshoot and is what most FPV pilots use; thumbs are quicker to learn and adequate for camera flying. Choose one in the first week and stay with it, because switching later costs a month of accuracy.
Caution
Arming is the moment the propellers start turning, and on most machines it is a stick combination or a button rather than a switch you can see. Learn the arming command with the propellers removed, and never hold the aircraft in one hand while you arm with the other. A hand on the airframe at the moment of arming is how people lose the tip of a finger.
Screens, clamped phones and what each costs you
A controller with a screen built in and a controller that clamps your phone give the same information and fail in different ways. The bonded screen is brighter, which matters on a white sky day when a phone dims itself, and it starts flying in seconds because there is nothing to pair. The clamped phone is cheaper, updates its maps and airspace data on its own schedule, and can be swapped for a better one. Against that, a phone in a clamp throttles itself in hot sun, interrupts the flight for a call, and adds a cable that catches on a jacket zip. What a drone costs is normally quoted for the aircraft and its handset together, and a screen version of the same package sits a clear step up the price band.
The apps that run on that phone do the flight display, the camera settings and the airspace check, and they are a subject of their own. The handset is the radio and the sticks; the phone is the instrument panel.
What changes on an FPV controller
An FPV controller is the same four axes with the training wheels off. First person view means the pilot looks through goggles at the camera on the aircraft rather than at the aircraft, so there is no orientation problem and no way to see what is behind you. The handsets are larger, run open firmware and carry more channels, commonly 8 to 16, so arming, flight mode, buzzer and video channel each get a switch. They also fly aircraft with no position hold, so the throttle stick sets thrust rather than height and the machine falls the moment you stop asking it to fly.
Every serious FPV pilot learns those inputs on a simulator before spending money on airframes. Simulators accept the real handset over a USB cable, which means the switch positions and the stick feel you practise with are the ones you will fly with. That single detail is why the practice transfers.
What to look for in a handset you intend to keep
Look for 4 things in a handset, in this order of importance: stick feel, because cheap gimbals inside the handset develop a dead spot in the centre; battery life, since a handset that outlasts 3 aircraft packs saves a charger in the bag; a trainer or USB port, which is what lets it drive a simulator; and antennas you can point. Handsets bound to one manufacturer's aircraft cannot be reused across brands, so a handset that outlives three machines is only possible in the open FPV world. Learning to fly is a skill that lives in your hands, and the handset worth keeping is the one that stops changing under them.