Drone photography
Drone photography is still photography, with three things taken away and one thing added: there is no tripod, no way to change lenses, and no chance to walk a few paces to fix the composition, and in return the camera can stand in a place no photographer can. That trade decides everything else. The pictures that work are the ones that could only have been taken from above, and they are usually taken lower, earlier and more slowly than a beginner expects. The camera on a hobby machine is a small sensor behind a fixed wide lens, so the picture is won by light and by position rather than by equipment.
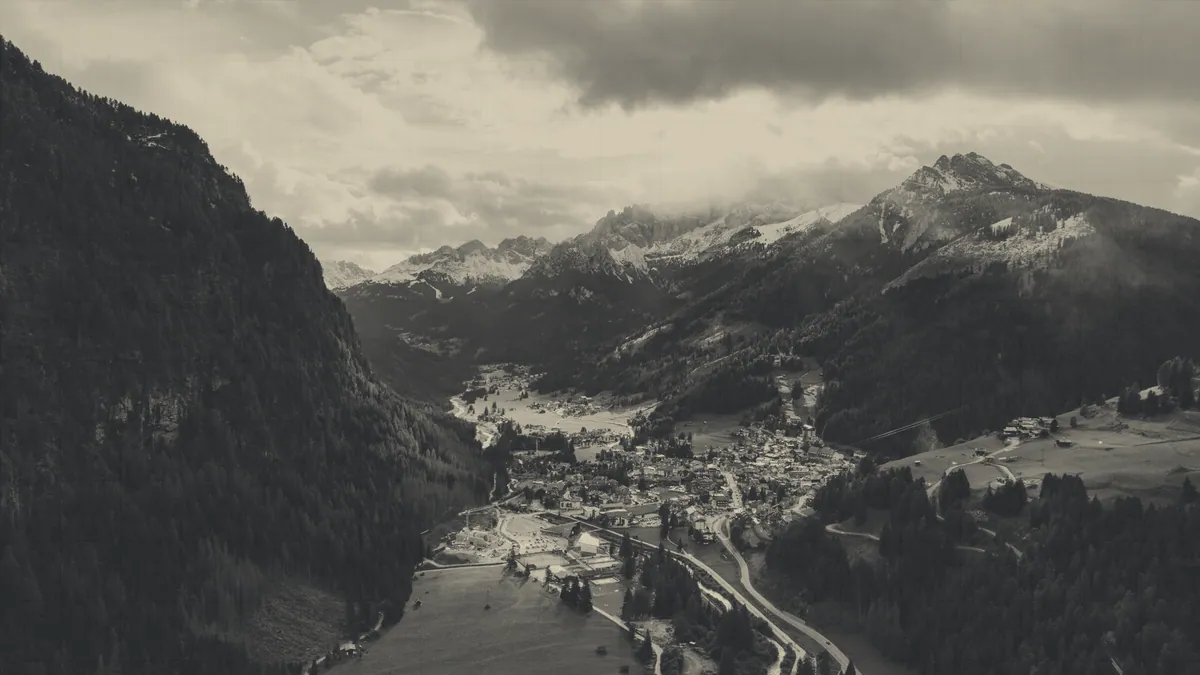
What changes the moment the camera leaves the ground
Four things change when the camera leaves the ground, and each one removes a habit you brought with you from the ground.
- The viewpoint becomes free in height, which is the entire gain, and fixed in lens, which is the entire cost.
- The sensor is small, commonly the 1 over 2.3 inch class on mid range machines and a 1 inch class on the more expensive ones, so it wants light and dislikes high ISO.
- The camera is moving even when it looks still, because the aircraft is holding position against a breeze by tilting into it.
- The time available is a battery, which on most camera machines is roughly 15 to 25 minutes of usable flying, and the light will not wait for the second pack.
The fixed lens is the constraint people underestimate. Most hobby machines carry a wide angle of roughly 24mm equivalent, sometimes a little wider, which pushes everything away and puts a great deal of empty field at the edges of the frame. You cannot zoom your way out of that on a fixed lens machine; you fly closer, or you fly lower, or you accept a picture with a small subject in the middle of it.
Height, and why good pictures sit lower than people expect
Height is a compositional tool and not a score, and the useful range is far below the ceiling. At 10 to 30 metres the picture still has perspective: buildings have sides, trees have shape, and a person casts a shadow that says where the sun is. At 100 metres and above the world flattens into a map, which is a legitimate and striking picture but a much narrower one, and the same field looks the same from any direction. Shoot the same subject at three heights on the same flight and the low one usually wins.
Where and how high you may fly is not a matter of taste. The Civil Aviation Authority publishes the requirements for flying an unmanned aircraft in the United Kingdom, including a height ceiling of 400 feet, which is 120 metres, above the surface. Those requirements change and are updated on the CAA's own pages, which is where to check them before a flight rather than after it.
Light, and the two hours that do most of the work
Light decides an aerial picture more sharply than it decides a ground level one, because from above you are photographing surfaces rather than faces. In the hour after sunrise and the hour before sunset the sun is low, every hedge, furrow and roof ridge throws a long shadow, and the ground gains texture it simply does not have at midday. Overhead sun at noon gives flat colour, hard small shadows directly under objects, and washed out water. Overcast is not a wasted day: soft light suits woodland, coastline and anything with strong colour, and it is the only light in which snow and pale sand hold detail.
| Light | What it gives | Best subjects | Main problem |
|---|---|---|---|
| First hour after sunrise | Long shadows, low contrast haze, still air | Fields, moorland, towns, mist in valleys | You have to be there for it |
| Midday | Flat, even, hard small shadows | Patterns seen straight down | No modelling, blown highlights |
| Last hour before sunset | Warm colour, long shadows, calmer wind | Coast, ridge lines, roads, buildings | Light changes every few minutes |
| Overcast | Soft, even, no shadow at all | Woodland, autumn colour, beaches | Dull sky, and a sky is hard to crop out from above |
Framing from above: four compositions that hold up
Framing from above collapses to a small number of arrangements that work, because the aerial viewpoint removes the horizon that usually organises a photograph. Four are worth learning first.
- Straight down, called top down or nadir, where the picture becomes a flat pattern and the subject must be a shape rather than an object.
- The low oblique, at perhaps 20 to 45 degrees, which keeps some horizon and reads as a photograph rather than as a map.
- The leading line, using a road, wall, river or wake to carry the eye from one corner into the frame.
- The lone subject on plain ground, a boat on flat water or a tree in a field, which is the composition the aerial viewpoint was made for.
Two habits improve all four. Fly the subject rather than the aircraft, meaning move until the frame is right and then stop. And take the picture 3 times, once level, once a few metres lower and once turned slightly, because a small change of position from the air is a large change in the picture.
The settings worth changing, and the ones to leave alone
The settings that matter for drone photography are few, and most of the menu can be left where the manufacturer put it.
- Shoot raw, or raw and JPEG together, because a small sensor needs the latitude when the sky is bright and the ground is not.
- Keep ISO at its base, usually 100, and let the shutter do the work. A small sensor at high ISO produces noise no editing removes.
- Use exposure compensation, biased slightly dark, since a blown white sky cannot be recovered and a dark field can.
- Turn on bracketing for high contrast scenes, which fires three or five frames at different exposures to be merged later.
- Leave sharpening and saturation at their lowest settings if you edit afterwards, because both are applied again in editing.
- Fit a neutral density filter for video, and take it off for stills, where it only costs you shutter speed.
Caution
Filters screw or clip onto the gimbal, which is a set of small motors on thin arms, and forcing one on or twisting it against the gimbal's resistance is the commonest way to damage a camera mount. Support the camera body with a finger while fitting a filter, and only ever fit one with the aircraft powered down.
What the camera cannot fix
A camera cannot fix a moving platform, and this is where stills and moving pictures part company. For a photograph, the stabilisation only has to survive one exposure, so a fast shutter hides most vibration; the gimbal is quietly doing the work of holding the horizon level and stopping the frame swinging as the aircraft tilts. Gimbals, and what mechanical stabilisation can and cannot correct, are worth understanding before you blame the camera for a soft picture. Drone video is a harder problem again, because there the movement is the subject and every wobble stays in the footage.
Two further uses of the same camera sit outside ordinary photography and are worth knowing by name. Photogrammetry and mapping fly a grid and stitch overlapping frames into a model or a plan, which needs flat light and heavy overlap rather than a good composition. Thermal imaging uses a different sensor entirely and belongs to inspection work.
Whether a drone is worth buying for photography
Yes, if you want a viewpoint you cannot otherwise reach, and no, if you want better pictures of the things you already photograph. That is the honest test. A hobby machine will not out resolve a decent camera on the ground, its lens is fixed, and it is worse in low light than the phone in your pocket. What it offers is a position: 30 metres over a river, above a hedge line, out from a cliff. If the pictures you want are made by that position, the aircraft earns itself quickly.
On cost, the useful bands are wide. Machines under the fifty pound mark carry a camera but not a stabilised one, and the results are keepsakes rather than photographs. The band from roughly two hundred to five hundred pounds is where a stabilised camera, satellite position hold and a sensible flight time appear together, and it is where most people who stay in the hobby end up. Above that, the money buys sensor size, longer range and better low light rather than a different kind of picture. Camera drones as a class, and what separates one band from the next, are set out in their own section, and reading it before buying saves the usual mistake of paying for a specification that the photographs never use.
Where to start
 1. DRONE VIDEOGRAPHYDrone videoDrone videography is the craft of moving a camera through the air slowly enough that a viewer can read what is in the frame.
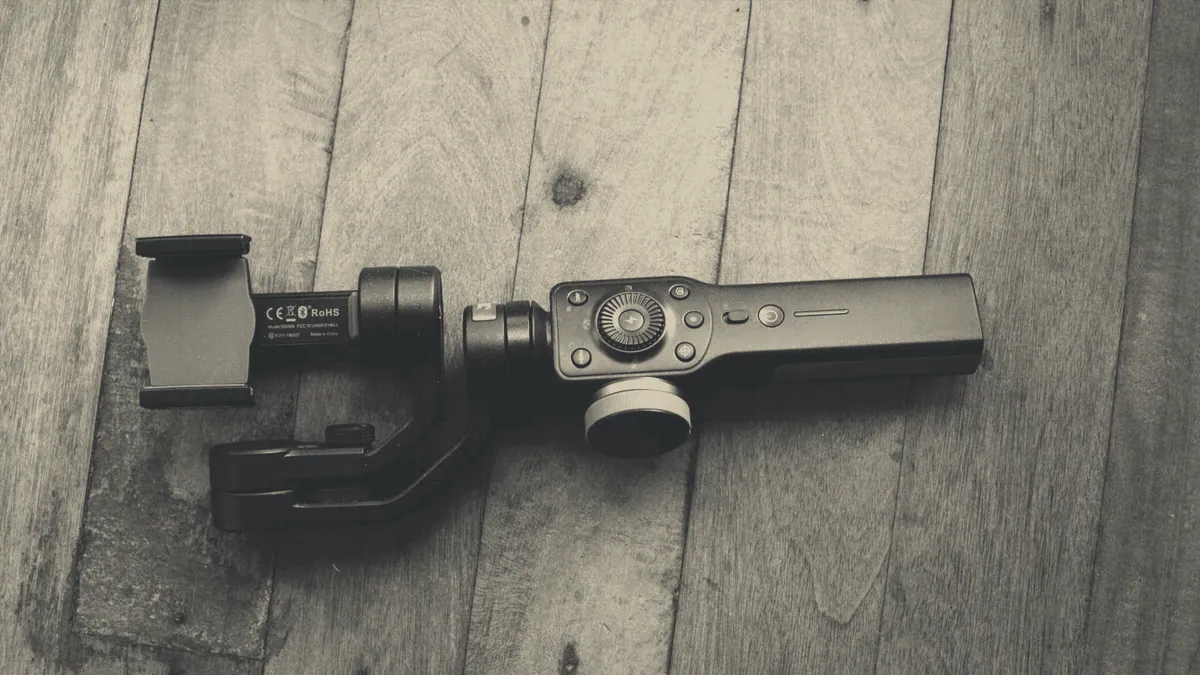 2. DRONE GIMBALGimbalsA drone gimbal is a small motorised cradle that carries the camera and turns it against the aircraft's own movement.
Other sections
Inherited addresses in this section
/videoDrone video