Learning to fly
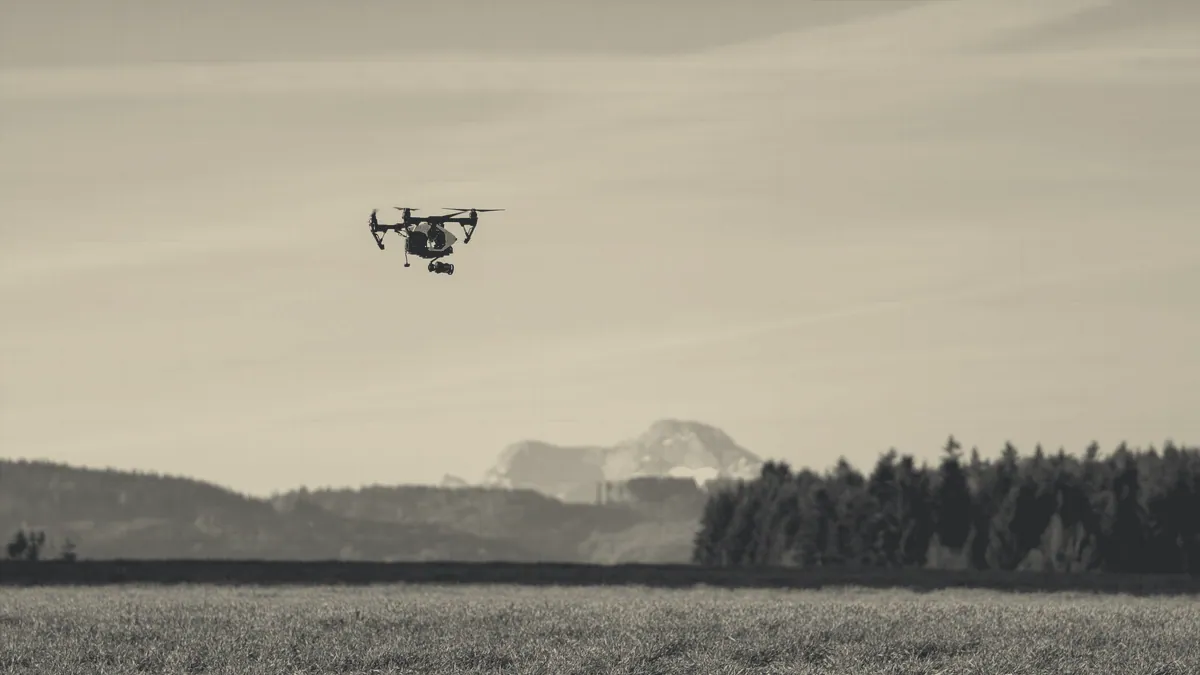
A hobby drone is flown with two sticks on a handset, and a first flight is four movements in a fixed order: lift off to about two metres, hold a steady hover, turn the aircraft on the spot, and land on the patch of ground it left. Everything else is built on those four movements. Most people manage all four inside one battery, which on a small quadcopter is roughly 10 to 20 minutes of flying. What takes longer is reading the aircraft when it is 50 metres away and pointing back at you, and that comes from repetition rather than talent.
What the two sticks do, learned on the ground
The two sticks do four separate things, and the cheapest place to learn which is which is standing in your kitchen with the propellers off. Nearly every transmitter sold in Europe is supplied in Mode 2, which puts the throttle on the left stick and the direction of travel on the right. The four names come from full size aviation, and they are worth using from the first day, because every setting menu, every manual and every other pilot at the field uses them.
| Stick and direction | Proper name | What the aircraft does |
|---|---|---|
| Left stick, up and down | Throttle | Climbs and descends |
| Left stick, left and right | Yaw | Rotates on the spot without moving |
| Right stick, up and down | Pitch | Flies forward and backward |
| Right stick, left and right | Roll | Slides sideways while still facing the same way |
Two of the four cause almost every early crash: yaw turns the machine without moving it, and roll moves it without turning it. While the aircraft points away from you the sticks agree with the world, so push right and it goes right. The moment it turns and faces you, left and right are reversed from where you stand, and a pilot who has not practised that reversal steers straight into the thing they meant to avoid.
The controller carries more than the two sticks. There are flight mode switches, a return to home button, trims, a camera wheel, and on many handsets a clamp for a phone or a built in screen. What each does is set out separately.
Caution
Take the propellers off before you practise stick movements indoors, and put them back on only outside. A set of propellers at flying speed will open the skin on a finger and will take a chunk out of an eyelid. Small machines are not exempt: they spin faster than large ones.
How hard flying a drone actually is
Flying a drone is easy to start and slow to finish. A camera machine with satellite positioning holds its own height and its own place in the sky, so a first hover asks almost nothing of you: let go of the sticks and it sits there. That is the reason a beginner today gets airborne in a minute where a model helicopter pilot in the 1990s needed a training undercarriage and an instructor. Three things stay genuinely hard, and no amount of stabilisation removes them.
- Orientation, which is knowing which way the nose is pointing at 60 metres against a grey sky.
- Distance judgement, because there is no depth cue in the air and an aircraft 200 metres away looks much the same as one 80 metres away.
- Wind, which is stronger at height than at your feet and is invisible until the aircraft stops making progress against it.
A first drone with position hold, a return to home function and propeller guards removes the first hour of difficulty, not the first month of it. The machine flies itself; you are learning to decide where it goes. Simulators are the cheapest answer to the orientation problem, because a nose-in crash on a laptop costs nothing and can be repeated forty times in an evening.
The first flight, in order
To make a first flight that ends with the aircraft intact, work through the order below. The sequence takes about 20 minutes on the ground and 8 minutes in the air.
- Choose an open field, at least the size of a football pitch, with no trees on the upwind side and no livestock, roads or gardens next to it.
- Check the wind before you leave the house. A first flight wants a still day; a light breeze that barely moves a flag is already enough to push a sub 250 gram machine downwind.
- Charge the aircraft battery and the handset, and take a second aircraft pack if you have one.
- Walk the take off area and clear it of loose grass cuttings, gravel and dog leads.
- Fit the propellers and check each one is tight and the right way round. Most machines mark them with a letter or a coloured ring.
- Switch on the handset first, then the aircraft. Reverse that order and some machines will spin up on the last stick position they saw.
- Wait for satellite lock and for the compass and gyro to settle. This is normally ten to forty seconds and the app or the handset says when it is done.
- Stand about five metres behind the aircraft with its nose pointing away from you, and keep it there for the whole flight.
- Lift to roughly two metres and stop. Two metres is high enough to be out of the ground turbulence and low enough that a mistake costs a propeller rather than the aircraft.
- Hold that hover for a full minute without touching anything else, then set it back down on the same square metre it left.
The drills for flights two to ten
To turn a hover into flying, practise these 5 drills in order and stay on each until it is boring. Each isolates one skill, which is why they beat simply flying about.
- Fly a square, 20 metres a side, at a constant height, nose always pointing away from you.
- Fly the same square backwards, so you are pulling the aircraft towards yourself under control.
- Hover nose in, facing you, for thirty seconds, then correct any drift with small inputs.
- Fly a figure of eight, which forces you through the nose in reversal twice per circuit.
- Land on a mark, such as a landing pad or a jumper on the grass, from ten metres up.
Nose in hovering is the drill everybody avoids and the one that separates a pilot from an owner. Practise it at 2 metres over grass, where the worst outcome is a bent propeller.
Flying with a camera running
Fly the aircraft first and the camera second, particularly on the first flight with a camera on board. The live picture on the phone is the most effective way there is to lose track of where the machine actually is, because your eyes go to the screen and stay there. Set the camera before take off, fly the shot by watching the aircraft, and check the framing only in the pause at the end of a move.
Where to practise, and who with
Model flying clubs are the answer to learning near you, and the United Kingdom has several hundred of them. The British Model Flying Association and FPV UK both maintain club listings and both act as national bodies for the hobby, including its insurance arrangements. A club field gives you a marked flying area, pilots who will hold your handset while you fit a battery, and somebody who has seen your mistake before. Club fees are annual and vary from club to club, and an hour with an experienced member usually costs nothing at all.
Where and when you may fly is not for this site to rule on. The Civil Aviation Authority publishes the requirements for flying an unmanned aircraft in the United Kingdom, including registration, the height ceiling of 400 feet, which is 120 metres, and the requirement to keep the aircraft in sight. Those requirements change, and the version that matters is the one on the CAA's own pages on the day you fly, so check there before the first flight rather than after it.
The five mistakes that end a first flight
Five mistakes account for most first flight losses, and all five are avoidable on the ground.
- Flying in wind, because a small machine loses a fight with a gust it cannot out climb.
- Flying the battery flat, because the warning comes late and the descent is not negotiable.
- Flying behind a tree, a hedge or a building, which loses both the signal and the sight of it at once.
- Taking off from long grass, sand or a car bonnet, all of which either foul the propellers or confuse the downward sensors.
- Turning the aircraft nose in before practising the reversal, which is how a controlled flight becomes a run towards the pilot.
None of the five needs a better machine to fix. Each needs one more flight flown in the right order, which is what the drills above are for.
Where to start
 1. DRONE CONTROLLERThe controllerA drone controller is the handset the pilot holds: two spring loaded sticks, a set of switches and buttons, and a two way radio link that sends your.
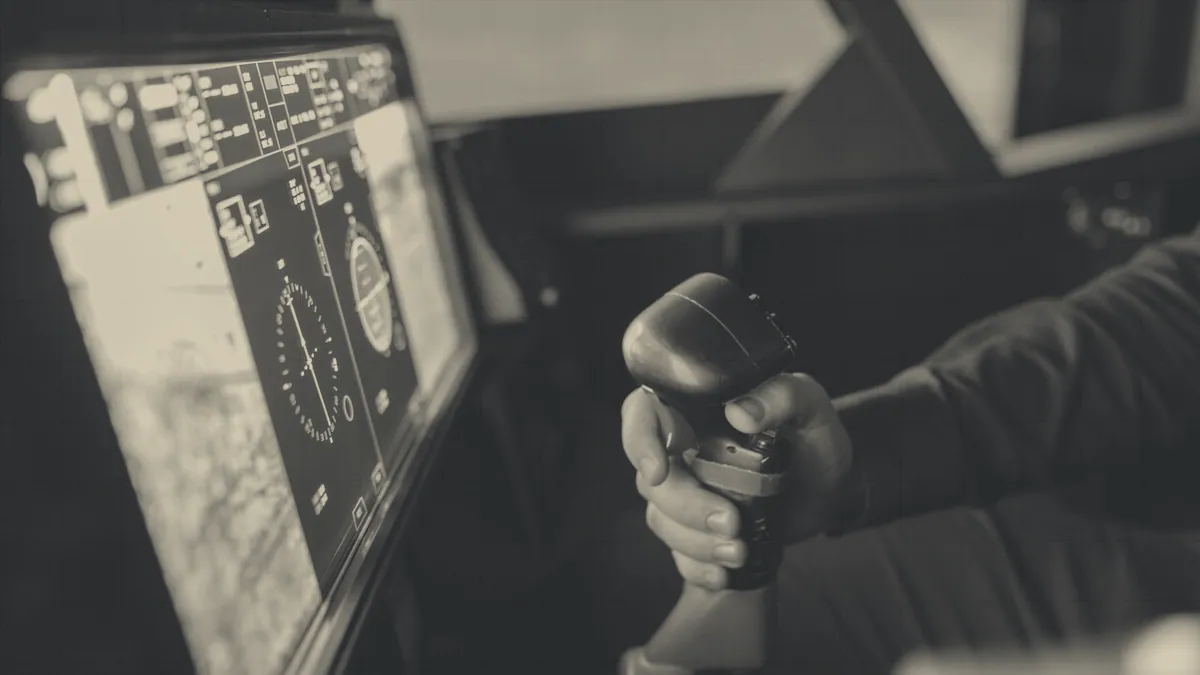 2. RC PLANE SIMULATORSimulatorsA drone simulator is a computer program that flies a multirotor, a model aeroplane or a helicopter on screen while you hold your own transmitter.
 3. DRONE APPThe appsA drone app is the software running on the phone clamped to the handset, or on the handset's own screen, and there are two separate kinds.