Repairs
Drone repair divides into three tiers: the parts you replace yourself with the small screwdriver that came in the box, the parts a competent solderer can change on a machine they built themselves, and the sealed assemblies that need a service centre with the jigs, the firmware and the calibration rig. Knowing which tier a fault belongs to before you open anything is most of the skill, because the commonest way to turn a repairable drone into scrap is to attempt tier three at the kitchen table.
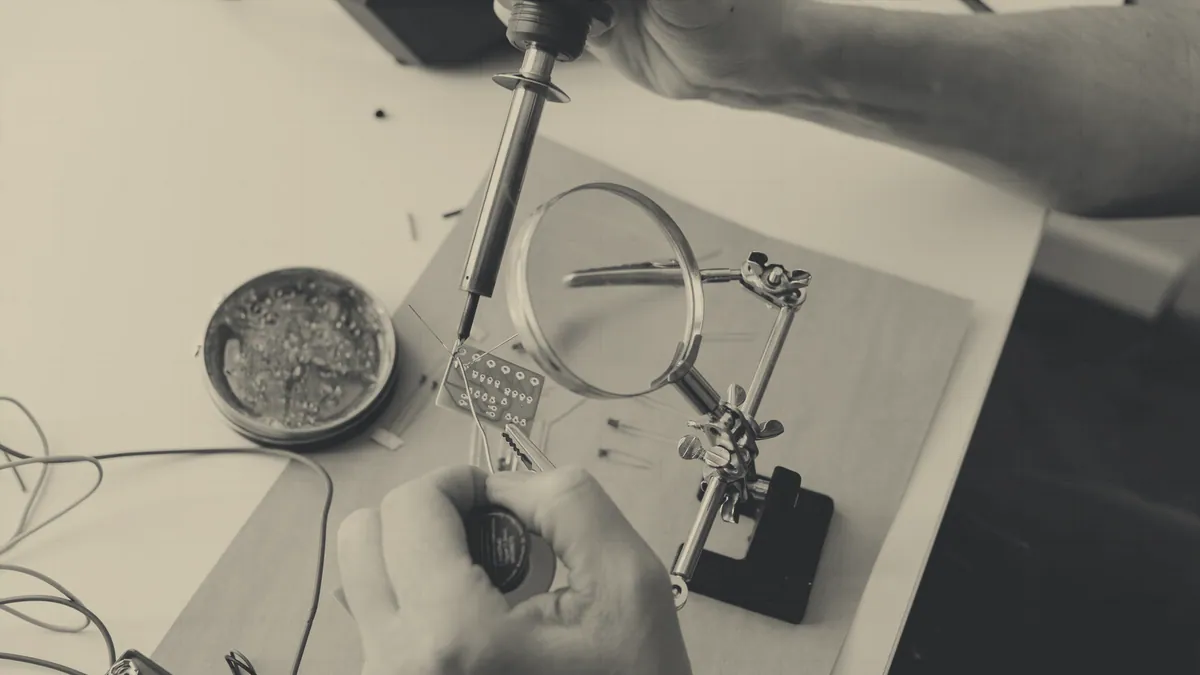
What a hobby flyer can fix at home
At home, without training and without special tools, you can replace five things: propellers, landing gear, arm covers and shells, the battery, and on a self built quadcopter the motors and speed controllers. All five are sold as spares by the manufacturer or by any hobby supplier, all five are held on with visible screws or plugs, and none of them requires the aircraft to be recalibrated afterwards.
- Replace propellers as a matched set of 4 at the first nick or crack, keeping the 2 clockwise blades and the 2 anticlockwise blades on their own diagonals.
- Fit new landing gear or a cracked arm cover, which on most folding drones is four screws.
- Retire a battery that has puffed, will not charge, or has lost most of its flight time.
- Change a motor or a speed controller on a machine you assembled, if you can solder, matching the 4 digit stator size and the KV figure printed on the part coming off.
- Reseat a loose camera cover, aerial or propeller guard.
None of this needs a licence, a course or any qualification. The Civil Aviation Authority scheme is about flying rather than fixing, and no repair changes what it asks of you unless it changes the weight class of the aircraft, which for a small machine means carrying it across the 250 gram boundary the scheme is built around. Those requirements do change, and the rules pages on this site describe how they are organised, but the authority to check is the Civil Aviation Authority itself. The parts of a drone sets out which components are which before you take the shell off.
What has to go to a service centre
A service centre is needed for four assemblies: the gimbal, the camera, the mainboard, and anything behind a sealed or bonded shell. All four share the same two characteristics, which is that they are connected by ribbon cables thinner than a fingernail and that they must be calibrated against a reference after fitting. A gimbal that has been replaced but not calibrated produces a horizon that leans, and no amount of trimming in the app will fix it.
The gimbal is the one that arrives most often, because it is the most exposed part of a camera drone and the least robust. A gimbal fault after a crash is usually a stripped motor, a torn flex cable or a bent yaw arm, and any of the three requires the aircraft to be opened, the assembly swapped and the calibration run. Camera drones covers what that assembly is doing and why it is built the way it is.
Water is the other case, and it is a service centre job even when the aircraft appears to work. Fresh water damage is survivable if the machine is never powered up wet. Salt water damage is usually terminal, because salt keeps corroding the board long after everything looks dry.
Caution
Never charge or power a lithium polymer pack that has been through a crash or has got wet. A punctured or dented cell can go into thermal runaway hours later, and it will do so wherever you left it. Put a suspect pack outside, on a hard surface away from anything that burns, and dispose of it at a recycling point rather than in a bin.
What a drone repair costs
Repair costs sit in four bands, and knowing the bands is more useful than any single figure, because prices move and vary between shops. Propellers and small plastic parts sit in the lowest band, where a set costs less than a takeaway meal and is bought before it is needed. Batteries and landing gear sit one band up, where a part costs a noticeable fraction of a budget aircraft but is still obviously worth buying.
Motors, speed controllers and a video transmitter sit in a middle band, where a set of four is a real purchase and the labour, if you are paying for it, may cost as much as the parts. A gimbal or a mainboard sits in the top band, where the quoted repair on a mid range camera drone routinely reaches half the price of a new aircraft, and on an older model can exceed it. That is where the arithmetic changes and the decision stops being technical.
When a repair costs more than the aircraft
Stop and price a replacement whenever the quote passes about half the current value of the machine, because three other costs are hiding behind the repair. The first is age: a drone two or three generations old will be repaired to a standard the current entry level model already exceeds. The second is the rest of the airframe, since the crash that broke the gimbal also stressed the arms and the shell, and the next failure follows the first. The third is the parts supply, which dries up on a discontinued model and turns the second repair into no repair at all.
Weigh these four before authorising work:
- Compare the quote against what the same model sells for used, not against what it cost new.
- Ask whether the damage is a single assembly or spread across the airframe.
- Check whether spares for that model are still being made.
- Count the batteries, chargers and cases you already own that fit only that aircraft.
That last point saves more aircraft than any other. Three batteries and a matched charger are worth real money and are worthless the moment the airframe changes, which often makes a middle band repair sensible on a machine that looks, on price alone, like a write off.
Finding a repair shop in the UK
Repairs in the UK come from three places. The manufacturer's own authorised service route is the one to use while a machine is in warranty and for anything involving the camera, since it is the only route with the calibration equipment and the current firmware. Independent drone repair shops handle crash damage, shell replacement and out of warranty work, usually by post, and quote after inspection rather than before. Local model shops, the ones that have served the radio controlled trade for decades, will handle soldering work, connectors and battery advice across the counter, and a shop nearby is worth finding for that reason alone.
Whichever route you use, send the aircraft with the flight log, a plain description of what the machine was doing when it failed, and the battery left at home unless the shop has asked for it. Do not strip it first. A part removed by an owner and refitted wrongly is the commonest reason a repair quote goes up on arrival, and FPV goggles, controllers and chargers should stay with you rather than travelling with the aircraft.
The maintenance that prevents most repairs
Most repairs are prevented by three habits rather than by luck. Inspect the propellers before every flight and replace them at the first crack. Land on a clean surface, because grit drawn into a bearing is the slow failure that turns into a motor replacement. Check the arms and the shell after any hard landing, including the ones that felt fine, since a cracked arm mount flies normally right up until it does not. Motors and speed controllers describes the symptoms of the damage those habits avoid, and they cost nothing but the ten minutes at the end of a session.